Difference: HardwareAccessAndMicropython (4 vs. 5)
Revision 52019-05-14 - UliRaich
| Line: 1 to 1 | |||||||||||||||||||||||||||||||||||||||||||||||||||||||||
|---|---|---|---|---|---|---|---|---|---|---|---|---|---|---|---|---|---|---|---|---|---|---|---|---|---|---|---|---|---|---|---|---|---|---|---|---|---|---|---|---|---|---|---|---|---|---|---|---|---|---|---|---|---|---|---|---|---|

Slide 1: Setting up and IoT | |||||||||||||||||||||||||||||||||||||||||||||||||||||||||
| Changed: | |||||||||||||||||||||||||||||||||||||||||||||||||||||||||
| < < | Session 2: Micropython and | ||||||||||||||||||||||||||||||||||||||||||||||||||||||||
| > > | Session 2: Micropython and | ||||||||||||||||||||||||||||||||||||||||||||||||||||||||
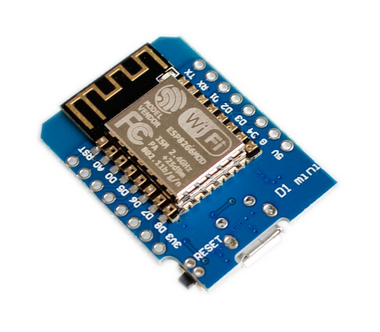
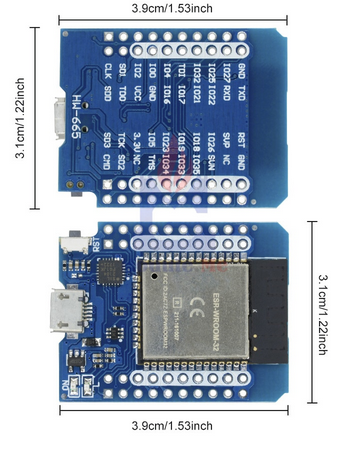
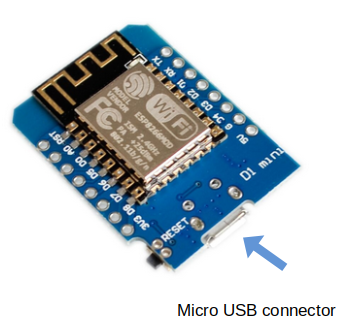
The WeMos D1 mini CPU card
| |||||||||||||||||||||||||||||||||||||||||||||||||||||||||
| Line: 42 to 42 | |||||||||||||||||||||||||||||||||||||||||||||||||||||||||
How to program the processor | |||||||||||||||||||||||||||||||||||||||||||||||||||||||||
| Changed: | |||||||||||||||||||||||||||||||||||||||||||||||||||||||||
| < < |
| ||||||||||||||||||||||||||||||||||||||||||||||||||||||||
| > > |
| ||||||||||||||||||||||||||||||||||||||||||||||||||||||||
Flashing the code | |||||||||||||||||||||||||||||||||||||||||||||||||||||||||
| Line: 151 to 151 | |||||||||||||||||||||||||||||||||||||||||||||||||||||||||
| The Linux version did not work for me | |||||||||||||||||||||||||||||||||||||||||||||||||||||||||
| Changed: | |||||||||||||||||||||||||||||||||||||||||||||||||||||||||
| < < | I found a version based on PyQt5 (new version of QT) which was even worse. | ||||||||||||||||||||||||||||||||||||||||||||||||||||||||
| > > | I found a version based on PyQt5 (new version of QT) which was even worse. | ||||||||||||||||||||||||||||||||||||||||||||||||||||||||
| Changed: | |||||||||||||||||||||||||||||||||||||||||||||||||||||||||
| < < | I tried to correct as much as I could to make the PyQt5 version usable on Linux: | ||||||||||||||||||||||||||||||||||||||||||||||||||||||||
| > > | I tried to correct as much as I could to make the PyQt5 version usable on Linux: | ||||||||||||||||||||||||||||||||||||||||||||||||||||||||
|
https://github.com/uraich/uPyCraft-Qt5 | |||||||||||||||||||||||||||||||||||||||||||||||||||||||||
| Line: 295 to 294 | |||||||||||||||||||||||||||||||||||||||||||||||||||||||||
|
| |||||||||||||||||||||||||||||||||||||||||||||||||||||||||
| Added: | |||||||||||||||||||||||||||||||||||||||||||||||||||||||||
| > > | The I2C busI2C stands for Inter-Integrated-Circuit. It was invented by Philips Semiconductor in 1982. Slow, short distance. Quite a number of sensors in the "WeMos D1 sensor shield collection use the I2C bus
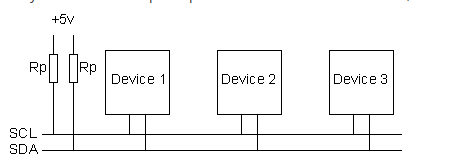
The physical busThe CPU (master) connects to the sensors (slaves) through 2 digital lines:
I2C start and stop sequenceWhen the master want to talk to the slave it issues a start sequenceIt terminates the transfer with a stop sequence 
I2C addressingWhen talking to a slave the master sends a seven bit address followed by a read/write bitThis allows to access at most 128 devices 
I2C data transferData is transmitted 8 bits at a time followed by an acknowledge bit.If acknowledge is low, transfer ok, otherwise: send stop sequence 
I2C write cycle
I2C read cycle
I2C in Micropython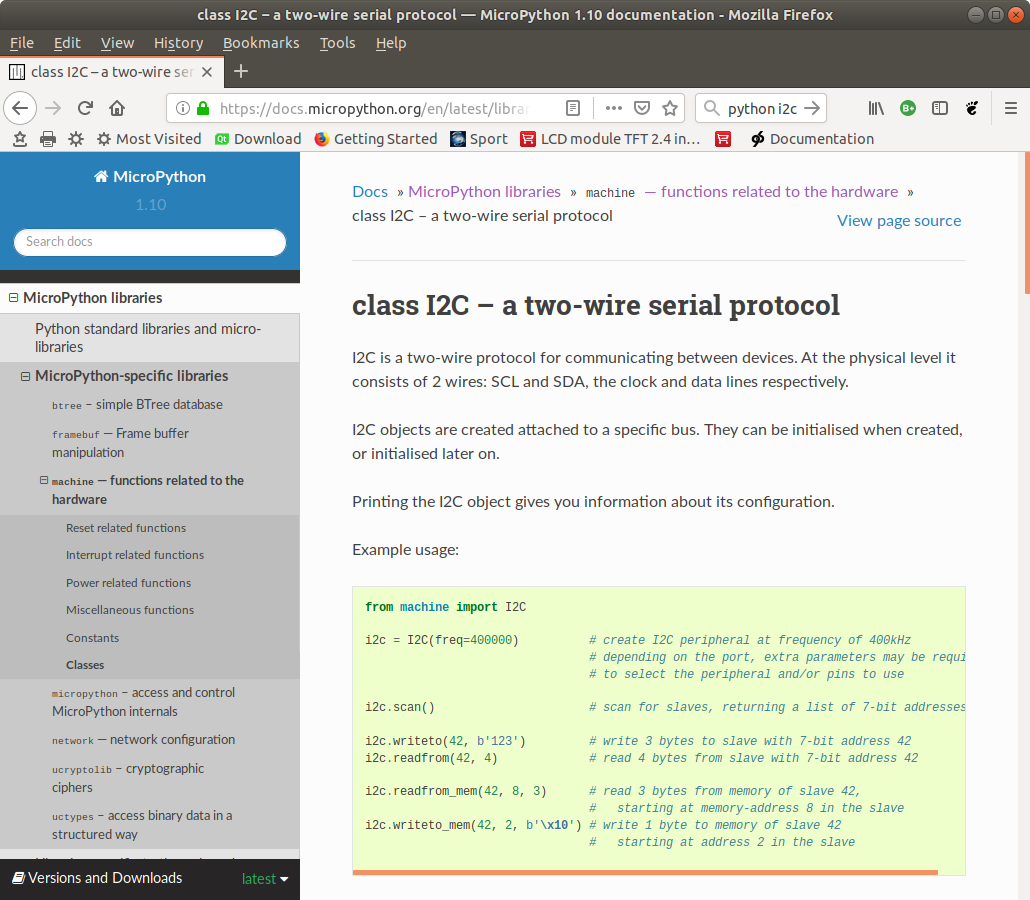
Scanning the I2C bus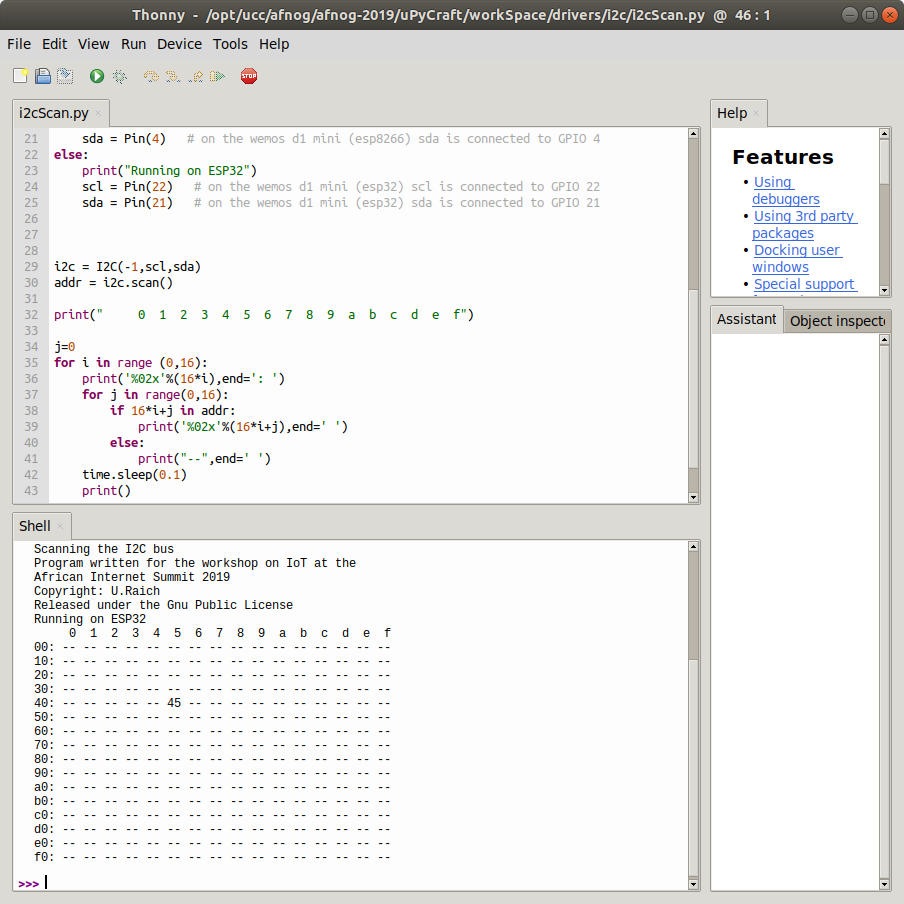
The SHT30 digital temperature and relative humidity sensorThe SHT30 is a digital temperature and humidity sensor based on the I2C bus Here is its data sheetTemperature precision: +- 0.3 °C Relative humidity: +- 3 % Works on 2.4V – 5.5 V 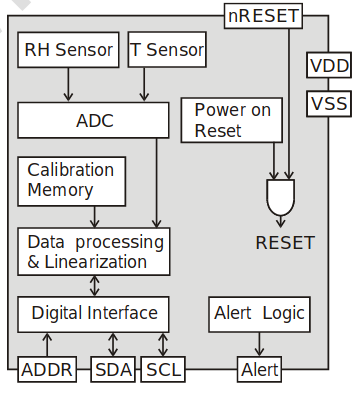
A look at the SHT30 driverhttps://afnog.iotworkshop.africa/pub/AFNOG/HardwareAccessAndMicropython/sht30.py.txtReading out the SHT30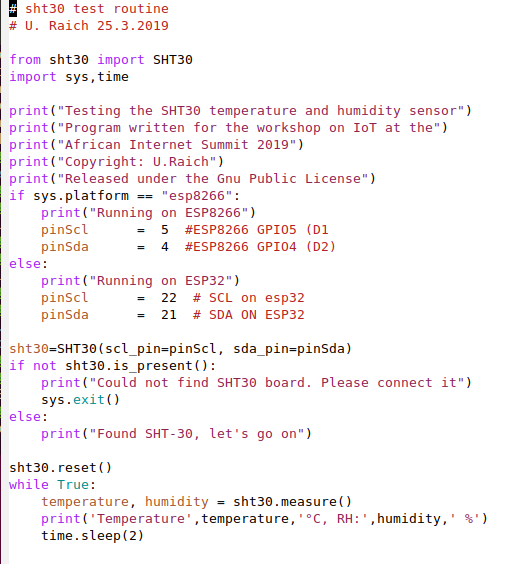
Results from the SHT30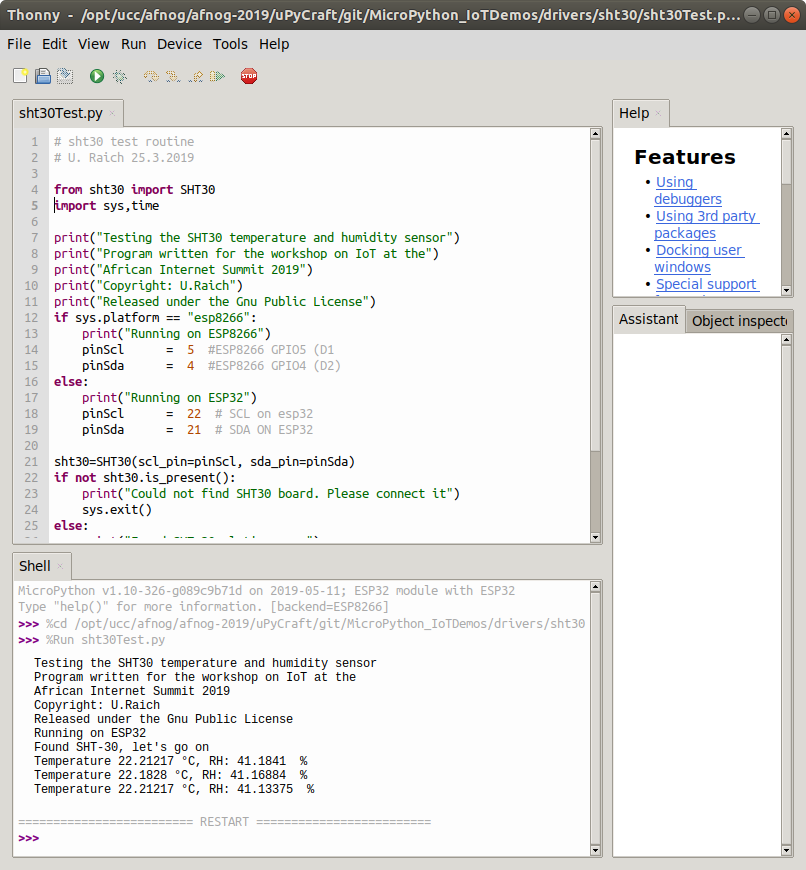
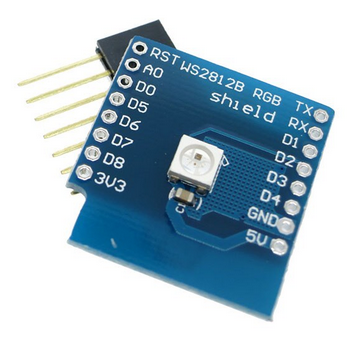
WeMos D1 mini sensor and actuator shields (1)
Wemos D1 mini sensor and actuator shields (2)
Pinouts of shields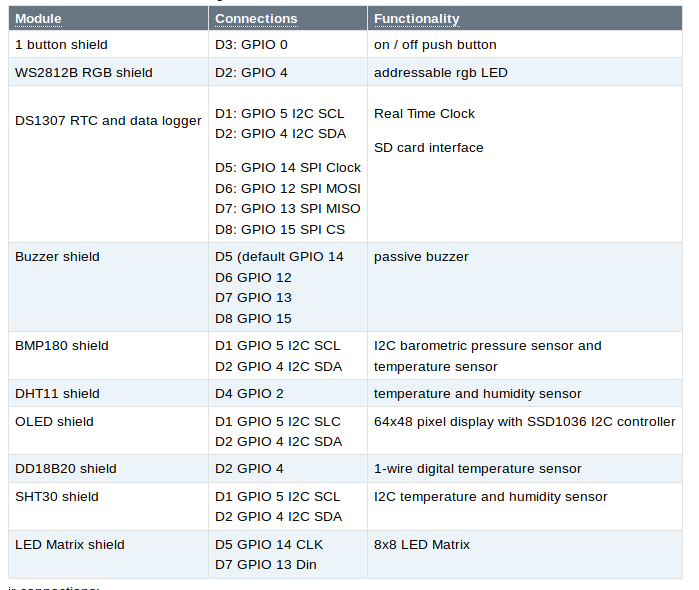
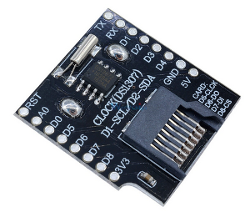
Documentation for the demo programsDemo programs for all the shields are available on github: https://github.com/uraich/MicroPython_IoTDemosThe data logger
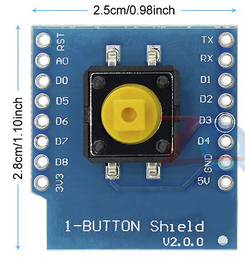
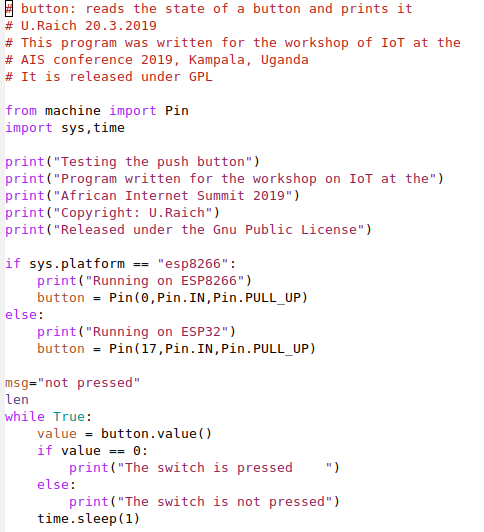
The push button shield
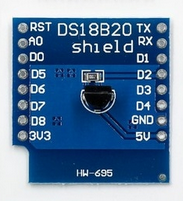
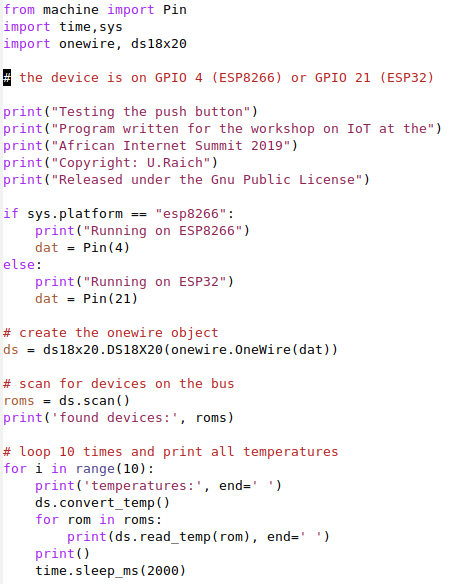
DS18B20 shield
SSD1306 48x64 OLED displayThis one is also an I2C deviceIt provides 48*64 pixels and allows to
framebuf class included in Micropython such that all drawing methods of the framebuf are available for drawing: https://docs.micropython.org/en/latest/library/framebuf.html For an example see: https://github.com/uraich/MicroPython_IoTDemos/tree/master/drivers/oled 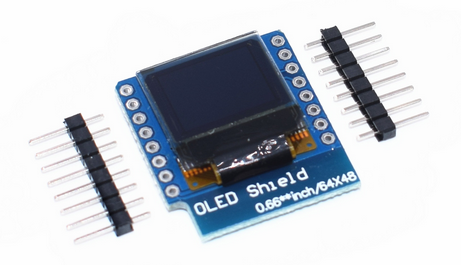
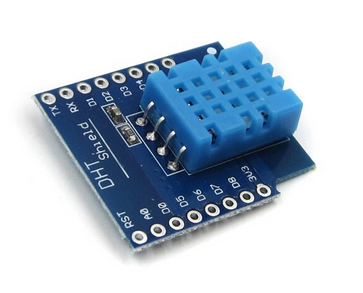
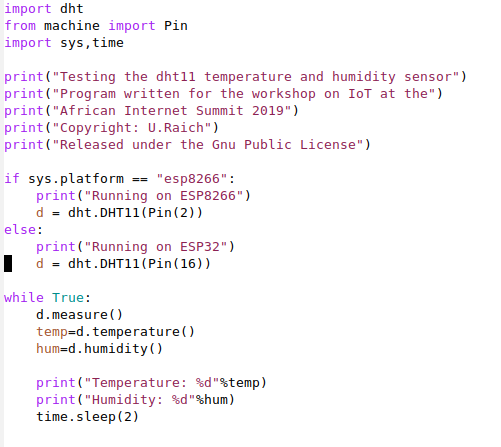
The DHT11 shield
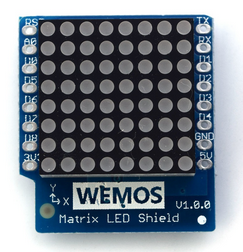
The LED matrix
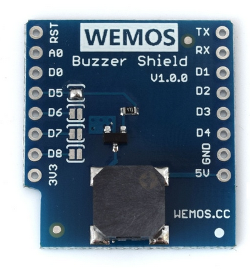
The buzzer
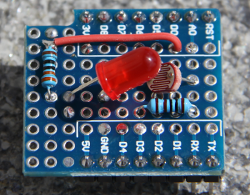
The prototype module
The triple baseThis module allows to easily stack a rather larger number of shields to a sandwich.Make sure however that the GPIO lines used by the modules do not clash 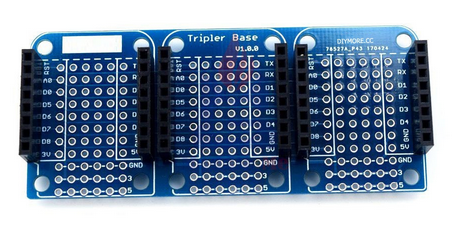
ExercisesNow it is up toYouto do the work!
| ||||||||||||||||||||||||||||||||||||||||||||||||||||||||
| %SLIDESHOWEND%
| |||||||||||||||||||||||||||||||||||||||||||||||||||||||||
| Line: 335 to 525 | |||||||||||||||||||||||||||||||||||||||||||||||||||||||||
| |||||||||||||||||||||||||||||||||||||||||||||||||||||||||
| Added: | |||||||||||||||||||||||||||||||||||||||||||||||||||||||||
| > > |
| ||||||||||||||||||||||||||||||||||||||||||||||||||||||||
Ideas, requests, problems regarding TWiki? Send feedback
