Difference: TinyML (9 vs. 10)
Revision 102023-11-08 - UliRaich
| Line: 1 to 1 | ||||||||
|---|---|---|---|---|---|---|---|---|
TinyMLIntroduction | ||||||||
| Line: 19 to 19 | ||||||||
| ||||||||
| Changed: | ||||||||
| < < | In the meantime the examples have been ported to the ESP32 and the ESP32S3 as well. These examples are written in C++ using the Espressif development environment esp-idf. The magic wand demo is not available for the ESP32. | |||||||
| > > | In the meantime the examples have been ported to the ESP32 and the ESP32S3 as well. These examples are written in C++ using either the Espressif development environment esp-idf or the Arduino SDK. Unfortunately the ESP32 TensorFlow library for the Arduino SDK is already a little outdated but I was able to create a TensorFlow Lite Micro source tree from the latest TFLM repository, which can be used with the ESP32 Arduino SDK. The magic wand demo is only available for the Arduino Nano 33 sense module. | |||||||
| Here we go through the ESP32 C++ examples | ||||||||
| Line: 41 to 43 | ||||||||
| and the circuit diagram can be found here: | ||||||||
| Changed: | ||||||||
| < < | https://afnog.iotworkshop.africa/pub/IoT_Course_English/TinyML/sch_s3_mini_v1.0.0.pdf | |||||||
| > > | https://afnog.iotworkshop.africa/pub/IoT_Course_English/TinyML/sch_s3_mini_v1.0.0.pdf | |||||||
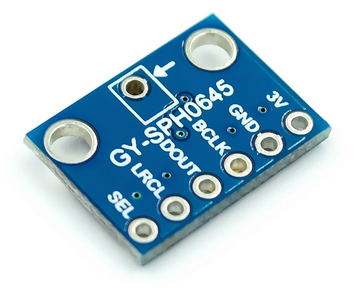
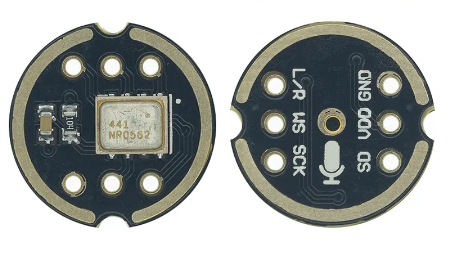
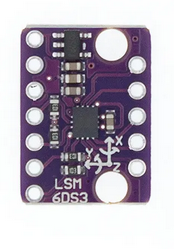
in addition we need the microphone and the accelerometer. The I2S driver in MicroPython support the MH-ET Live and the SPH0645 microphones. There are many accelerometers on the market and I selected the LSM6DS3 because this is also used in the TinyML book.
| ||||||||
| Line: 50 to 52 | ||||||||
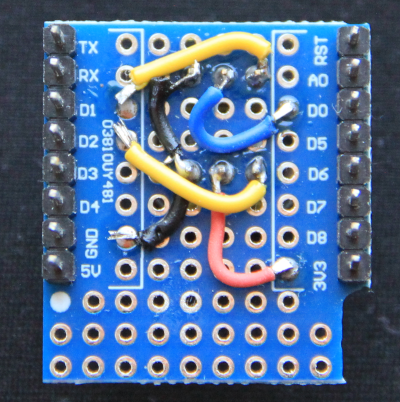
The photo below shows the MH-ET Live microphone mounted on a prototype board. The connections are made with small cables on the back. The prototype board can then simply be plugged onto the base board.
| ||||||||
| Changed: | ||||||||
| < < | Setting up the PC and MicroPython for TensorFlow | |||||||
| > > | Setting up the PC and MicroPython for TensorFlow | |||||||
| The following pages show how to set up the PC to run TensorFlow, how to create models and how to down-scale them for use on the ESP32. Then a custom version of MicroPython must be created including the esp32-camera driver and its MicroPython interface as well as ulab, a stripped down version of numpy and scipy as well as the tflm library and its MicroPython access routines. | ||||||||
| Line: 71 to 72 | ||||||||
Comments | ||||||||
| Changed: | ||||||||
| < < | ||||||||
| > > | ||||||||
| ||||||||
View topic | History: r13 < r12 < r11 < r10 | More topic actions...
Ideas, requests, problems regarding TWiki? Send feedback


