Difference: WiFi (4 vs. 5)
Revision 52022-09-25 - UliRaich
| Line: 1 to 1 | ||||||||
|---|---|---|---|---|---|---|---|---|
Connecting to WiFiExercise 1: | ||||||||
| Line: 53 to 53 | ||||||||

Exercise 6 : | ||||||||
| Added: | ||||||||
| > > |
Exercise 7 : | |||||||
| Changed: | ||||||||
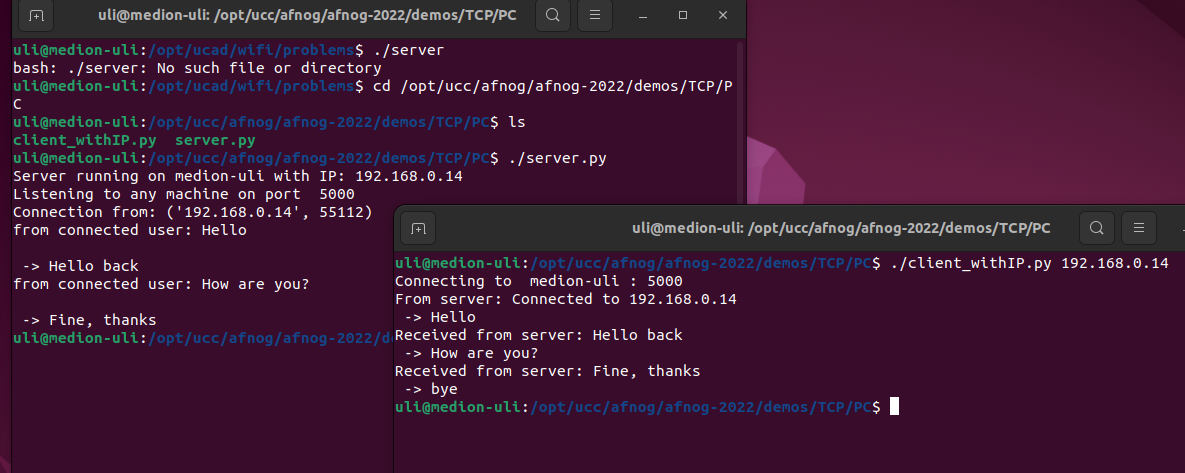
| < < | Move the server to the ESP32. In this case, the WiFi initialization is needed before starting the server part. Test the communication as you did in exercise 5. | |||||||
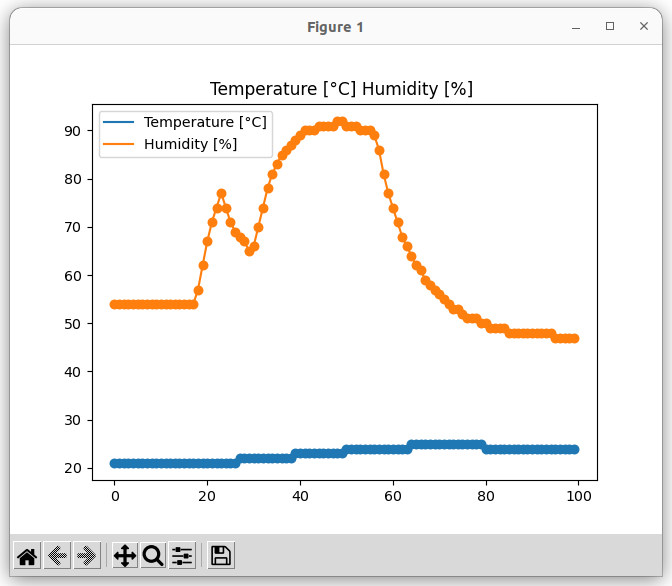
| > > | Write a client on the ESP32 which reads the temperature and humidity from the DHT11 every 5s and packs the result into a message of the following form: temperature [°C]: 25,humidity [%]: 56 Send this message to a server on the PC The server parses the message and extracts the parameter names (temperature [°C] and humidity [%]) and the values and plots them in a dynamic plot created with matplotlib. The parameter names are used for the legend, the values are displayed graphically.  In the above plot, I put a finger on the DHT11, which quickly increases the measured humidity and more slowly increases the temperature.
 | |||||||
|
-- | ||||||||
| Line: 69 to 78 | ||||||||
| ||||||||
| Added: | ||||||||
| > > |
| |||||||
View topic | History: r5 < r4 < r3 < r2 | More topic actions...
Ideas, requests, problems regarding TWiki? Send feedback